Monday, October 5, 2015

Black Bottom Oatmeal Pie


{Black Bottom Oatmeal Pie} 

Recipe (adapted slightly) from Four and Twenty Blackbirds

The geniuses over at Four and Twenty Blackbirds in New York came up with this recipe (among a zillion others) and let me tell you. I made this pie for a party full of people who make chocolate for a living. It's called poor man's pecan pie in which the oats take the place of the nuts. With buttery crust, bittersweet chocolate, and gooey oatmeal filling, it's like a chocolate chip oatmeal cookie and a pie all rolled into one delicious plate. Oh and don't forget the gingery molasses kick. Trust me on this one.

Crust:
1 1/4 cups all-purpose flour
1 1/2 teaspoons sugar
1/2 teaspoons sea salt
1 stick cold unsalted butter, cut into chunks
1/4 cup very cold water


Filling:
 1 1/2 cups rolled oats
1/4 cup heavy cream
4 ounces chocolate, coarsely chopped (70 percent cacao)
3/4 cup packed brown sugar
1/4 teaspoons ground ginger
1/2 teaspoon salt
5 tablespoons melted unsalted butter
3/4 cup light corn syrup
1/4 cup molasses 
1 teaspoon vanilla extract
2 teaspoons apple cider vinegar
4 large eggs

Directions:
Make the pie dough. In the bottom of a large bowl, mix together the flour, salt and sugar. Work the butter into the flour with you fingers until the mixture resembles coarse meal and the largest bits of butter are the size of peas. Add 1/4 cup of cold water and stir with a spoon until large clumps form. In the bowl, use your hands to knead the dough together. If the dough doesn't come together, add one more tablespoon of water. 
Wrap dough in a sheet of plastic wrap and refrigerate for at least one hour or up to 48 hours. If pressed for time, put it in the freezer for 15 minutes. 
Form the pie crust. Roll the dough out on a floured counter into a 12-inch round. Transfer to a 9-inch standard pie plate. Trim the dough overhang to about 1/2 inch and crimp decoratively. Place in the freezer for 20 minutes. 


Par-bake the crust. This will lead to a crispier base. Heat oven to 400 degrees F. Line crust with lightly buttered foil, fill with pie weights, and bake on a rimmed baking sheet for 20 minutes. Remove foil and let cool. 
Preheat oven to 350 degrees F.
Prepare filling. Spread oats on a rimmed baking sheet and toast in oven for 10 minutes, stirring occasionally. Set aside to cool. Reduce oven temperature to 325 degrees. 
To make the black bottom, bring the cream to a boil over medium heat in a small saucepan. Add chocolate pieces and whisk until smooth. Scrape the chocolate into the bottom of the pie crust. 


In a large bowl, whisk together the brown sugar, ginger, salt, and melted butter. Add the corn syrup, vanilla, and cider vinegar and whisk together. Add the eggs one at a time, whisking well. Stir in the oats. Place the chocolate covered pie crust on a rimmed baking sheet and pour in filling. 
Bake for 55 minutes (or more) rotating halfway through for an even color. When the edges are set and slightly puffed and the center is firm to the touch, the pie is done. Allow to cool completely. 


Tuesday, March 31, 2015

Brown Butter Chocolate Chip Cookies


My husband and I have this thing for chocolate chip cookies. I mean, we're talking chocolate chip cookies ... what's not to love? But we've taken it to the next level. About once a week, while we enjoy a food coma following a pretty large dinner for two, one of us will invariably mention how some chocolate chip cookies sure would hit the spot.

Once someone says it, you can't get it out of your head. Duh. So. I make cookies. Lots and lots of chocolate chip cookies.

Now, you can't go wrong with some version of the Classic Chocolate Chip Cookie Recipe. And if you have multiple types of chocolate and 24 hours to spare, the Jacques Torres Chocolate Chip Cookie Recipe is pretty phenomenal. Or if you're craving cookies the size of your head, make these Ultimate Chocolate Chip Walnut Cookies. But if, like me, you make at least one batch per week, it's fun to mix it up with different versions of the classic. For these, I make the dough ahead to keep in the fridge (it lasts up to 3 days) and pop in a batch or two whenever the craving hits. 


Tips for taking these cookies to the next level. Use quality, grass-fed butter for the ultimate results. Good butter makes all the difference. Browning the butter makes for dense, chewy, nutty cookies. I also like to chop a portion of my chocolate to add more texture to the cookies. Also, pull them from the oven when the edges are just beginning to brown and the middle still looks a bit doughy. They will firm up as they cool and the result is heavenly — crispy outer layer and a chewy center.


{Brown Butter Chocolate Chip Cookies}
adapted from Serious Eats

Ingredients
2 sticks unsalted butter
2 1/2 cups flour
1 teaspoon baking soda
1 teaspoon salt
2 large eggs
2 teaspoons vanilla extract
3/4 cup dark brown sugar
1/4 cup white sugar
8 ounce dark chocolate chips, chopped
flaky sea salt

Directions
1. Allow one stick of butter to soften. Meanwhile, melt remaining stick of butter in a medium saucepan over medium-high heat, swirling pan until it begins to turn golden brown and nutty. Remove from heat and allow to cool completely in the refrigerator, whisking occasionally.
2. Meanwhile, whisk flour, baking soda, and salt together in a large bowl. In the bowl of your stand mixer, whisk together sugar, eggs, and vanilla medium-high for about 5 minutes. 
3. Add brown butter to the egg mixture. Add in flour mixture and mix until just combined. Add chocolate. Refrigerate for 3 hours or overnight.
4. Preheat oven to 375 degrees. Place rounded spoonfuls of cookie dough onto a parchment-lined baking dish. Bake until golden brown and soft, 8-10 minutes. Remove from oven to a wire rack. While still hot, sprinkle lightly with coarse salt. 

Since I moved to Utah — altitude 5,600 feet — I've had trouble with flat cookies that spread out all over the pan. Not these. These cookies come out of the oven perfect and plump and bursting with chocolate. The browned butter adds a nutty note missing from other chocolate chip cookies, and chopping a portion of the chocolate chips means ribbons on chocolate in every bite. 


Thursday, March 26, 2015

Aeropress Coffee


There's no shortage of good camping in the west. And one of the highlights of camping is camp coffee. There's something about sleeping outside that makes a hot cup of coffee so essential. And the best tool for this job is an Aeropress.


What's an Aeropress? It'll change your relationship with coffee — it's that good. Not sure if it's the surroundings (we use our Aeropress when we camp in the mountains) or the coffee but this brewing method has stolen our hearts. The Aeropress combines two different brewing methods, that of the French press and then a combo of an espresso machine and a filter coffee maker. First, the water and coffee steep together, mimicking the French press brewing process. Then to complete the brew the water is pushed through the grounds and then through a paper filter.

The result is a small strong cup of coffee, perfect for enjoying with your feet propped up near a campfire after a long day of hiking. Plus, the Aeropress is cheap (you can buy it here for about $30) and very portable — it takes up very little space in your backpack. And, because it is made out of rubber and plastic, it won't break and it's very easy to clean — big considerations when you're traveling or camping.

So grab your tent and a bag of Pink Elephant Coffee Roasters and head to your nearest mountain knowing that you'll wake up to a great cup of coffee.


{How to Aeropress}

To make coffee with this method, you'll need:

- Fresh ground coffee (18 grams)

- Water (about 220 ml to brew, more to boil)

- Kettle

- Aeropress

- Stir stick (the Aeropress comes with one, or use a spoon)

- Coffee mug

If camping, you'll also need:

- A way to boil water. We use our Jet Boil Stove and a collapsible pot

- Hand grinder

How you grind your coffee, how long you brew it, and how much water is used all depends on what kind of cup of coffee you want to drink. I like my camp coffee how I like my daily coffee — strong, and lots of it. For this, I use a coffee to water ratio of 17 to 1.

1. Begin by heating your water, bringing it to a boil. Use only good tasting water.

2. Grind the coffee just before you begin brewing. For this, I pack a small hand grinder that can be broken apart and packed easily. Grind to a medium-fine grind.

3. Place a paper filter into the filter holder of your Aeropress and lock it into the body of the brewer.  Then, place the Aeropress on top of your coffee mug and add the coffee to the brewer (above the filter).

4. Take the kettle off the boil and wait 20 seconds. Add the desired amount of water to the Aeropress, filling the chamber to just below the top. Give the coffee a quick stir and put the piston part of the Aeropress in place, making sure it seals. Don't push yet.

5. After a minute or two in which you allow the coffee to brew, slowly push down the plunger until all the liquid has been pushed out. You might have to push hard, so make sure your Aeropress is resting on a sturdy mug in a secure position.

6. Discard the spent coffee by removing the filter holder and, holding the brewer over the trash, pushing the plunger to emit the grounds. Rinse and wipe clean the bottom of the piston and brewer.

Now grab a camp chair or a stump, put your feet up and enjoy your coffee.


Sunday, February 22, 2015

Vanilla Bean Crème brûlée


Some people get chocolates or roses for Valentine's Day. What do I get? A blow torch! I have the best husband ever. I've been wanting one of these beauties for years with a sole purpose in mind — crème brûlée.

That crispy, crackly, oh-so-beautiful caramel crust tops a luscious, creamy vanilla custard. If this stuff was on the menu at a restaurant, I had to order it. But now, with my new tool in hand, I can get torch-happy at home. I feel like this is the start of a beautiful relationship.

So let's start with the classic crème brûlée, vanilla bean.


Not only is this crème brûlée delicious, it's also incredibly easy and time-friendly. Just make the custard a day or two ahead of time, keep it in the fridge, and fire the tops just before serving. Perfect for an impressive dinner party dessert (torch-slinging is an instant guest dazzler) or a lazy night treat for two .... Or lunch. Your choice.

{Vanilla Bean Crème Brûlée}
Ingredients:
1 quart heavy cream
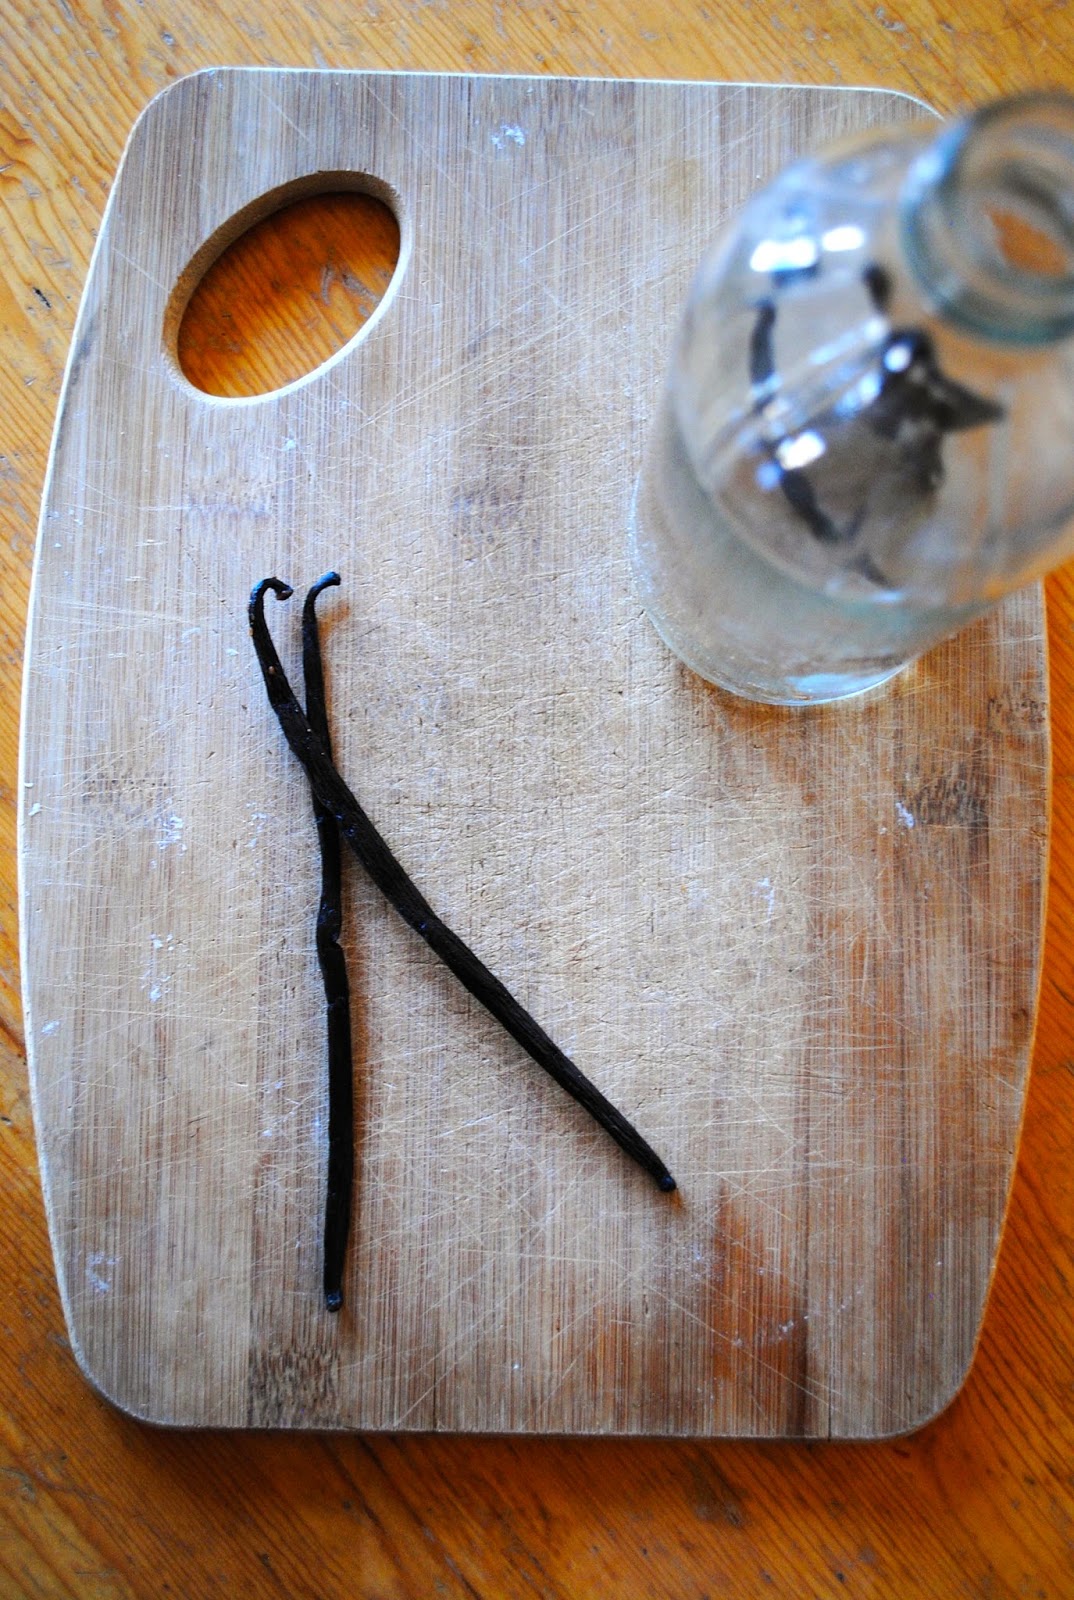
1 vanilla bean, split and scraped
6 egg yolks
pinch of slat
hot water

Special Equipment:
Ramekins
Culinary Blow Torch


Directions:
Preheat oven to 325 degrees. Prepare a large cake pan or roasting pan by lining the bottom with a cotton dishtowel.

Whisk together the egg yolks, 1/2 cup sugar, and the salt until foamy and light, about 2 minutes. In a medium-sized saucepan, combine cream, vanilla pod and seeds, and 1/2 cup of the sugar. Bring to a boil, then remove from heat. Allow to steep for 15 minutes. Remove the pod after steeping.

In the prepared pan, place ramekins on top of the towel, spaced apart. Pour hot water carefully into the pan (try not to splash water into the ramekins). Fill until ramekins are 2/3 of the way submerged.

Slowly temper the egg mixture with the cream mixture by adding a little at a time and whisking well. Strain and evenly divide between ramekins, taking care not to splash custard on the sides. Cover the top of the pan tightly with foil and bake. Cooking time depends on the depth and size of your ramekins — mine took 1 hour. Rotating the pan hallway through, pulling back the foil after 20 minutes and checking the custards by gently shaking them. They are done when the custard is set around the edges and jiggly in the center. When done, remove from the water and allow to cool on a wire rack for 20 minutes, then chill completely in the fridge for at least 4 hours.


Sprinkle sugar on the top of the chilled custards. Swirl and shake the ramekins to create an even coating of sugar about 1/16 of an inch thick. Light the torch and slowly bring it toward the surface of the custard until the sugar just begins to melt. Circle the outer edge until the melted sugar begins to darken, then move the torch toward the center. It will smoke and maybe even catch on fire. Touch up light areas with the torch.


Serve immediately. The best part is cracking through the sugary caramelized top to the goodness within. The crust is sweet and crunchy and almost smokey, while the custard is so creamy and packed with vanilla beans.

Get the blowtorch.

Thursday, February 5, 2015

Whole Wheat Country Sourdough Loaf


There's nothing better than the scent of freshly baked bread filling the house. There is something so warm and comforting about it, no matter how dreary or cold or snowy the day.

I've been defiant in the face of the recent anti-gluten hype — it seems everything can be made gluten-free or paleo these days. With options for gluten-free pasta, gluten-free bread, gluten-free cookies, gluten-free everything, I say us gluten-eaters revel in the glory of real wheat bread. More bread for us!

Because honestly, is there anything more wholesome than a loaf of homemade wheat bread formed by your own two hands after days of preparation and hours of care?

That's what sourdough is. This kind of bread making is a process, a carefully thought-out transaction between you, time, and the micro-organisms. It's a messy act of patience and commitment and devotion that pays off in the end (I promise!) when those two golden brown crusty loaves come out of the oven.


{Whole Wheat Country Sourdough Loaf}

If you haven't read Cooked by Michael Pollan yet, head on over to your local bookstore and grab a copy. Like everything by Pollan, the book is semi-life-changing if you are into food - which I assume you are if you're reading this blog. In the book, he explores the evolution of cooking in terms of fire (barbecue), water (braising meat), earth (fermenting), and air (bread baking). Pollan takes the reader along on his own journey to master each cooking concept, and I'm going to pull you along too! Beginning with bread.

Pollan breaks down a recipe from Tartine Bakery's Chad Robertson for his iconic country loaf. I remember the first time I had a loaf of this incredible bread from Tartine Bakery last time I was in San Francisco, so the prospect of baking this bread was an exciting one. So here we go:

Okay, so you've got your apron tied around your waist, your oven pre-heated, and your counter cleared — you're ready to make a loaf of bread. But hold up! This is sourdough we're talking about here, and it's made from wild yeast. At least a week before you can begin thinking about baking actual bread, you need to make your starter.

Remember, bakers use a gram scale to measure out the exact amounts of ingredients (it's way more accurate than measuring cups). We'll do it too. 


Active Time: about 70 minutes
Total Time: between 5 and 10 days

Making The Starter
Ingredients
50 grams stone-ground whole wheat flour, plus more as needed to feed the starter
50 grams all-purpose flour, plus more as needed to feed the starter
100 grams warm water

Direction: In a small glass or plastic container, mix 50 grams each of the whole-grain and all-purpose flours until combined. Feel free to use your hands, as this might help the wild yeast find its way to your starter. Add the water and stir until it reaches the consistency of a smooth batter. Leave the mixture open to the air, stirring for about 30 seconds at least once a day. If the mixture dries out, add a bit of warm water. The wild yeast and bacteria in the air, on the flour, and on your hans will eventually start to eat the sugars in the flour and ferment. When this starts to happen, you'll notice lumps on the top, bubbles in the batter, and a certain smell — mine smells like yeast and beer, others smell like ripe fruit. It can take as long as a week before this happens. Feed the starter daily: Discard about 80 percent of it and replace with fresh flour and water in equal parts (50 g of whole wheat, 50 grams of all-purpose, 100 grams warm water). Stir until smooth.

At this point, I gave my starter a name, since he'd begun to feel like a bit of a pet. This helps me remember to feed him every day.

Once the starter has become active after its feeding (bubbling), keep the starter covered at a warm room temperature. If you won't be baking for a whole, you can refrigerate it. To do so, feed it, let it sit for a couple of hours at room temperature, then add enough additional flour to dry it out in a ball; freeze or refrigerate. A few days before you want to use it again, wake up the starter by brining it to room temperature; feed it with the same amount of water and flour as above twice daily, discarding 80 percent of it each time, until it's lively again.


The Night Before
Now that your starter is consistently rising and falling alongside his feeding schedule, it should take on a yeasty, apple-like smell especially when it's young (right after a feeding). Now you are ready to bake bread. Almost.
The night before you want to bake, you are going to make the leaven and prepare your bread dough.

Leaven
Ingredients
100 grams stone-ground whole grain flour
100 grams all-purpose flour
200 grams warm tap water
30-35 grams (about 2 heaping tablespoons) starter

Directions: In a glass bowl, combine the flours and water and stir. Add the starter and mix thoroughly with your hands. Cover with a towel and leave overnight in a draft-free spot.

Bread Dough
Ingredients
600 grams stone-ground whole grain flour
250 grams all-purpose flour
150 grams rye flour
900 grams water tap water
25 grams sea salt

The flours need to be soaked in order to soften the bran in the whole wheat flour. This will lead to a fluffier and airier bread. Combine the flour in a large bowl with 850 grams of the water. Cover with plastic wrap and leave overnight in a draft-free spot.

Note: Pollan recommends sifting the whole wheat and rye flours to remove the bigger bits of bran, which can cause tears in the bread dough, plus look great as decoration on the outside of the loaf. I skip this part, but feel free to do so)

In the morning, test the leaven by dropping a tablespoon in warm water. If it floats, congratulations, you have a viable leaven and you're ready to bake! Add half of the leaven to the dough mixture and reserve the remaining half as your starter going forward. Mix the dough thoroughly and let rest 20 minutes. Add in the salt and remaining 50 grams of water, mix thoroughly, and let rest another 20 minutes.

Bulk Fermentation
This next step takes 4-5 hours, depending on the temperature of the room and how vigorous your starter is. Feel it out.

Every 45-60 minutes, turn the dough in the bowl by wetting your dominant hand and giving the bread a "turn" in the bowl. Do this by working your fingerers to the bottom of the bowl, then bringing up the dough from your cupped fingers to the top. Give the bowl and quarter turn and repeat the process until you've completed a full revolution of the bowl. This stretches the gluten (giving it muscle!) and traps air in the dough. It sounds more difficult than it actually is.

Repeat this process every 45-60 minutes until the dough feels billowy and wants to stick to itself rather than the bowl. It will smell yeasty and slightly sour. If it smells distinctly sour, it is time to end bulk fermentation.

Shaping the Loaves
Shape the loaves by sprinkling a work surface with flour and spilling the dough onto the surface. Using a plastic dough scraper, divide the dough into two halves and shape them into globes using your floured hands and the scraper. The balls of dough should have some tension to them. cover the balls with a clean towel and let them rest for 20 minutes.

After that time, flip each globe of dough upside down and stretch the dough. Do this by grabbing the dough on the side farthest from you, stretching it away from you, then folding it back on the top. Do this to all four sides of the dough, stretching and folding, and it will resemble a package. Then, repeat the process to the four corners of that package. Then roll the package away from you into a cylinder, with the seams underneath. Repeat with the other globe of dough. If you reserved the bran, sprinkle the bran on the bottom of two bowls and place the dough in there for final proofing. Or, sprinkle the bowls with rice flour.

Proofing
Cover the bowls with a towel and let rest for 2-3 hours in a warm spot. Alternatively, you can leave the dough in the fridge overnight. When ready to bake, take it out of the fridge and give it an hour to get back to room temperature before baking.

Baking
Preheat a dutch oven or other heavy-duty iron or ceramic covered pot to 500 degrees F in the oven. Using kitchen mitts, carefully remove the pot from the oven and onto the stovetop. Gently drop the dough into the pot (don't worry if it doesn't land squarely, it will right itself as it bakes). With a razor blade, score the bread in whatever pattern you prefer (remember to be decisive!), then cover the pot and place it back in the oven. Lower the temperature to 450 degrees and bake for 20 minutes, covered.

After that time, remove the lid of the pot. The bread should have doubled in volume and have a tan or golden brown color. Give it another 23-25 minutes, uncovered. The bread will turn dark mahogany, with some burn marks around the scoring. This adds flavor! Turn the loaves out onto a cooling rack; If they are done, they will give out a hollow sound when tapped. If not, return to the oven for an extra five minutes.

Pollan says to let these loaves cool for a few hours, but I can never resist breaking into one for fresh, hot bread. I also like that the recipe makes two loaves, meaning you can eat the first one with abandon and save the second loaf for more civilized eating. But seriously, whole grain bread is usually at its best on day two and remains good for several days after that if kept in a paper bag or bread bag (avoid plastic!).

So yes, using a wild yeast starter to make your own homemade sourdough takes a lot of time and thought and hard work. It's a full day's activity, not to mention the daily feeding of your starter in the weeks leading up to the actual baking and the night before ritual of making your leaven and preparing your dough. But it's worth it, in the end. What this bread requires into dedication in gives back in its incredible full and nutty flavor and a texture that is soft and chewy on the inside (hopefully with some awesome airy crumb!) and crusty and crunchy on the outside. And it makes it taste so much better knowing that you made it yourself, every step of the way. Long live gluten!