With the wedding officially over, I'm now a happily married woman — which means I don't have to fit into that wedding dress ever again. Bring on the ice cream!
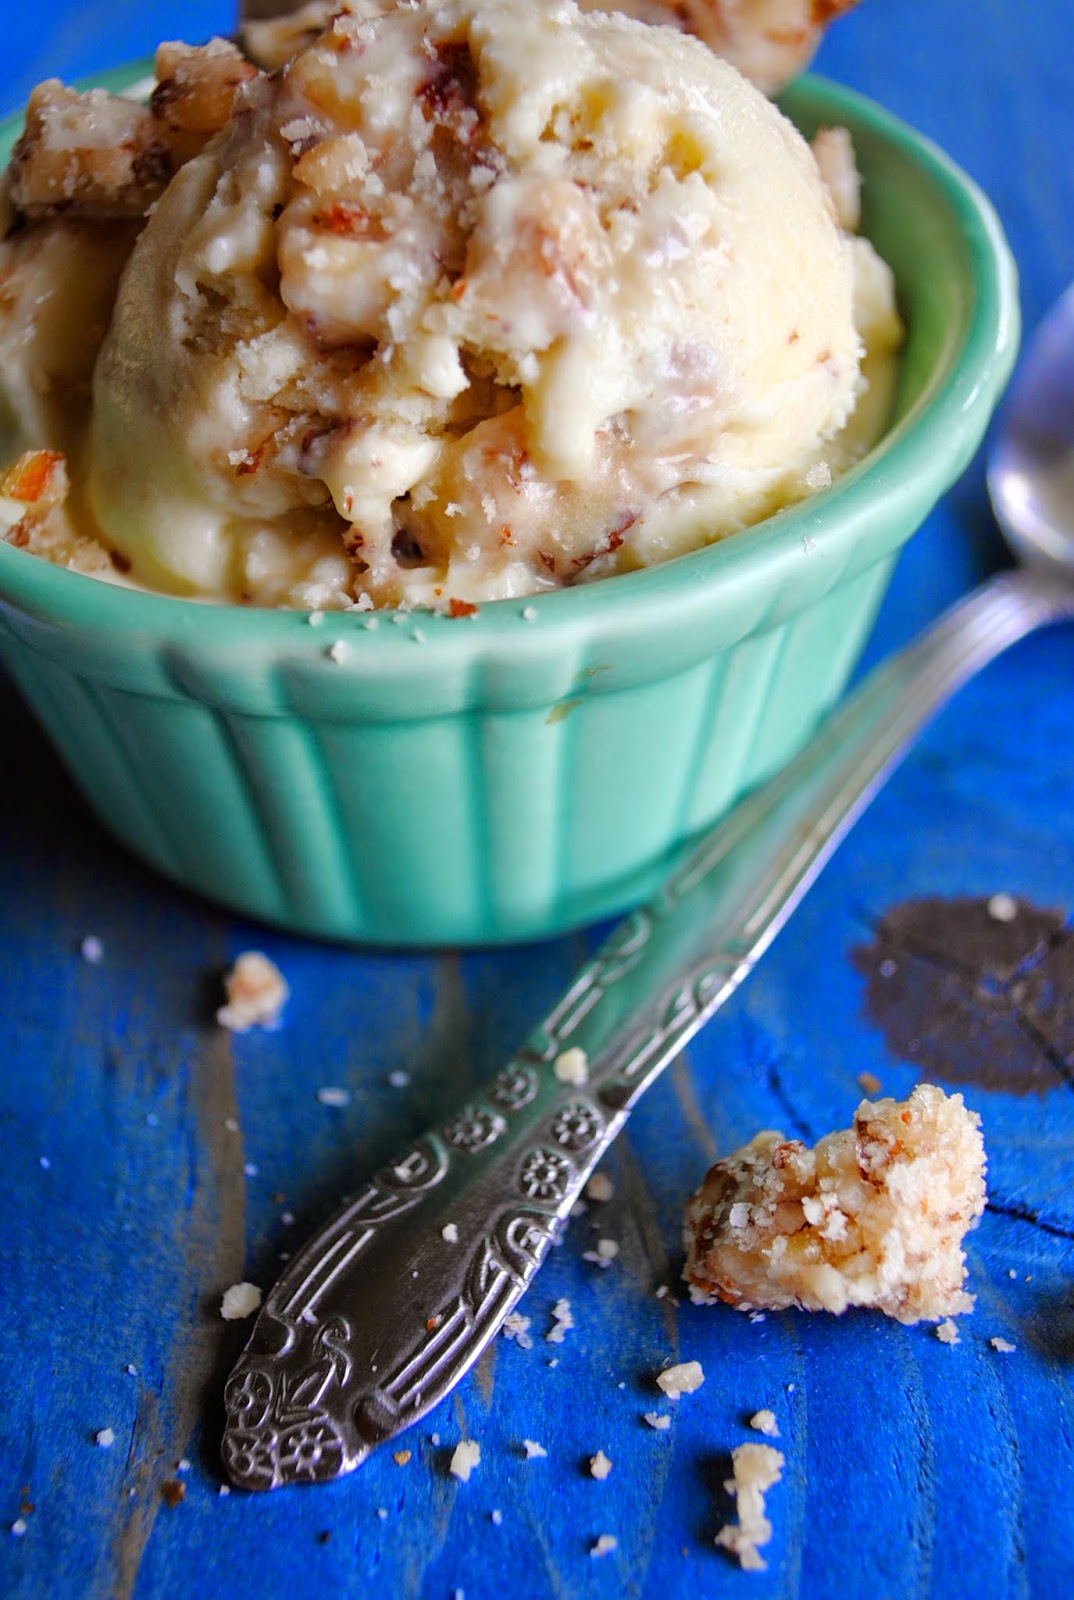
The brown butter base is creamy and nutty with flecks of browned butter solids dotted throughout. Then throw in the homemade almond brittle and it takes this ice cream to the next level — crunchy salty-sweet brittle packed full of almonds and layered throughout the ice cream.

{Browned Butter Ice Cream with Almond Brittle}
Inspired by Jeni's Splendid Ice Creams
Almond Brittle
Ingredients:
1/4 cup water
1 cup sugar
3/4 teaspoon salt
1/2 cup light corn syrup
1/2 cup butter, cut into 1-inch pieces
8 ounces (2 cups) slivered almonds
1/2 teaspoon baking soda
Directions:
Generously oil a large baking sheet. Stir together the sugar, corn syrup, water, and salt in a saucepan and bring to a boil over medium high heat. Using a candy thermometer, add the butter and bring the mixture back to a boil, then cook until it reaches 300 degrees F. Remove from the heat and immediately stir in the almonds and then the baking soda, working quickly.
Spread the mixture onto the oiled baking sheet in a 1/4 inch layer. Allow to cool completely.

Break almond brittle into pieces and put them in a large freezer bag. Use a rolling pin to smash the brittle to small pieces.
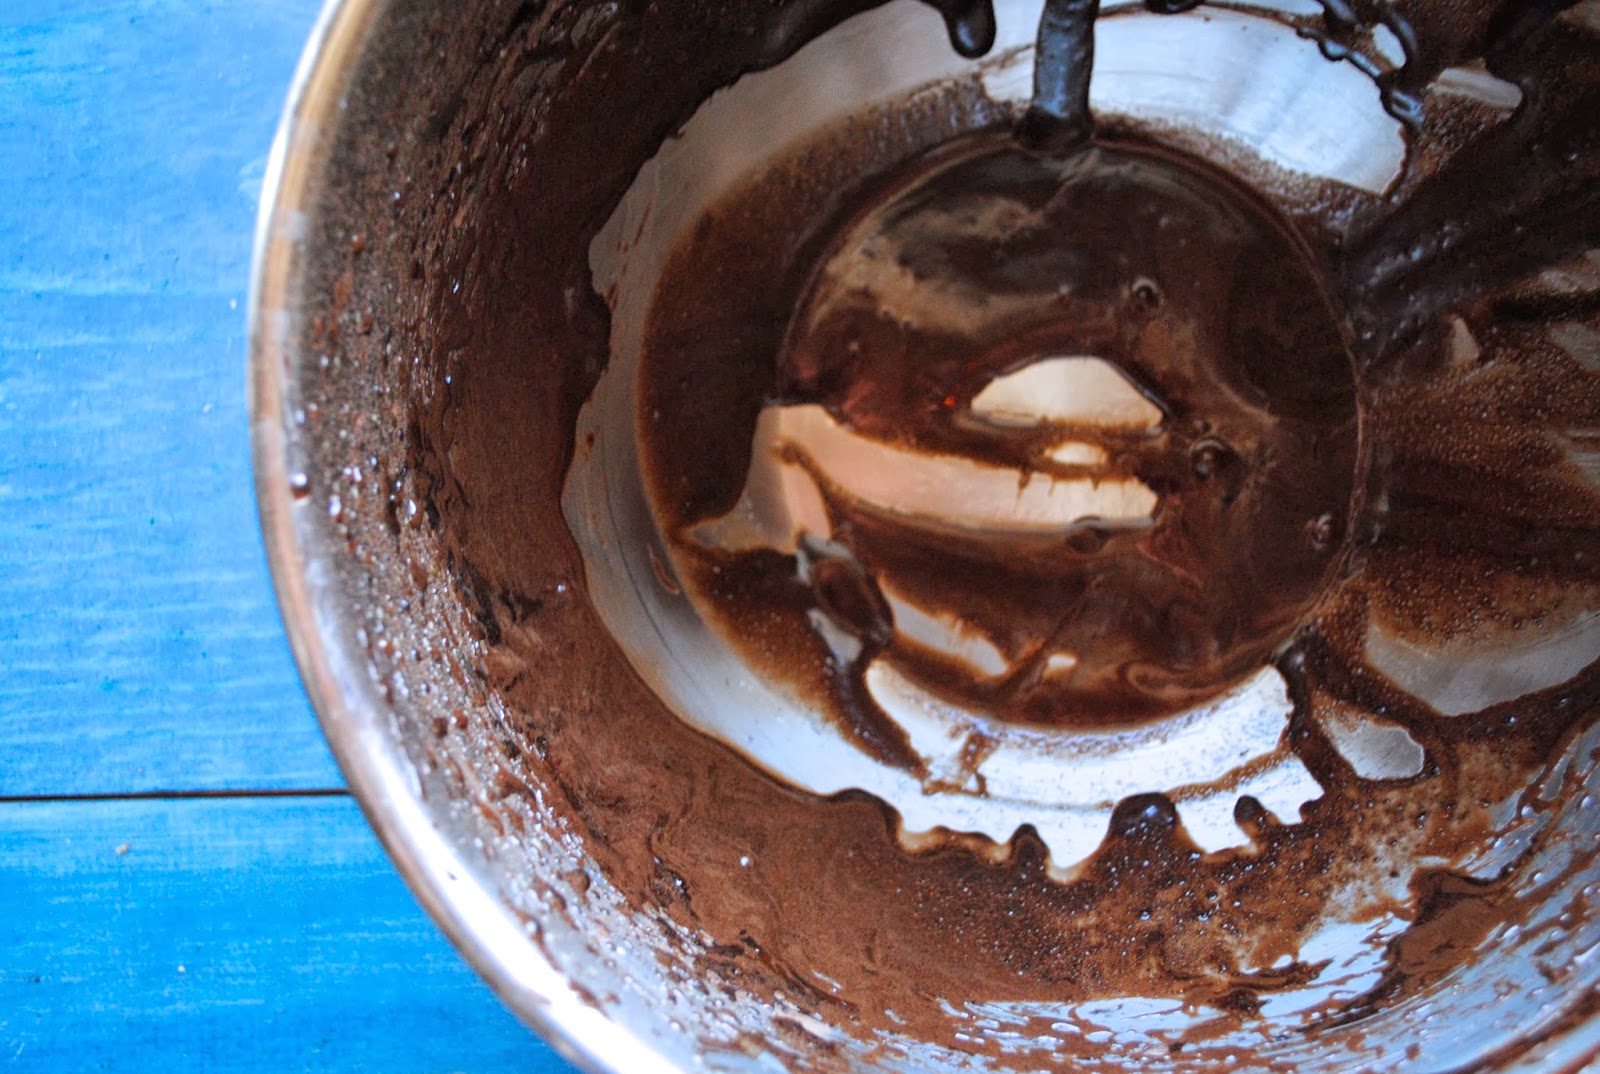
Browned Butter Ice Cream
Ingredients:
4 Tablespoons butter
2 cups heavy cream
1 cup whole milk
1 teaspoon salt
3 egg yolks
2/3 cup sugar, divided


Directions:
Side note: This recipe makes a little extra almond brittle and it is delicious to eat just as it is. Make it. Do it. You won't be sorry.